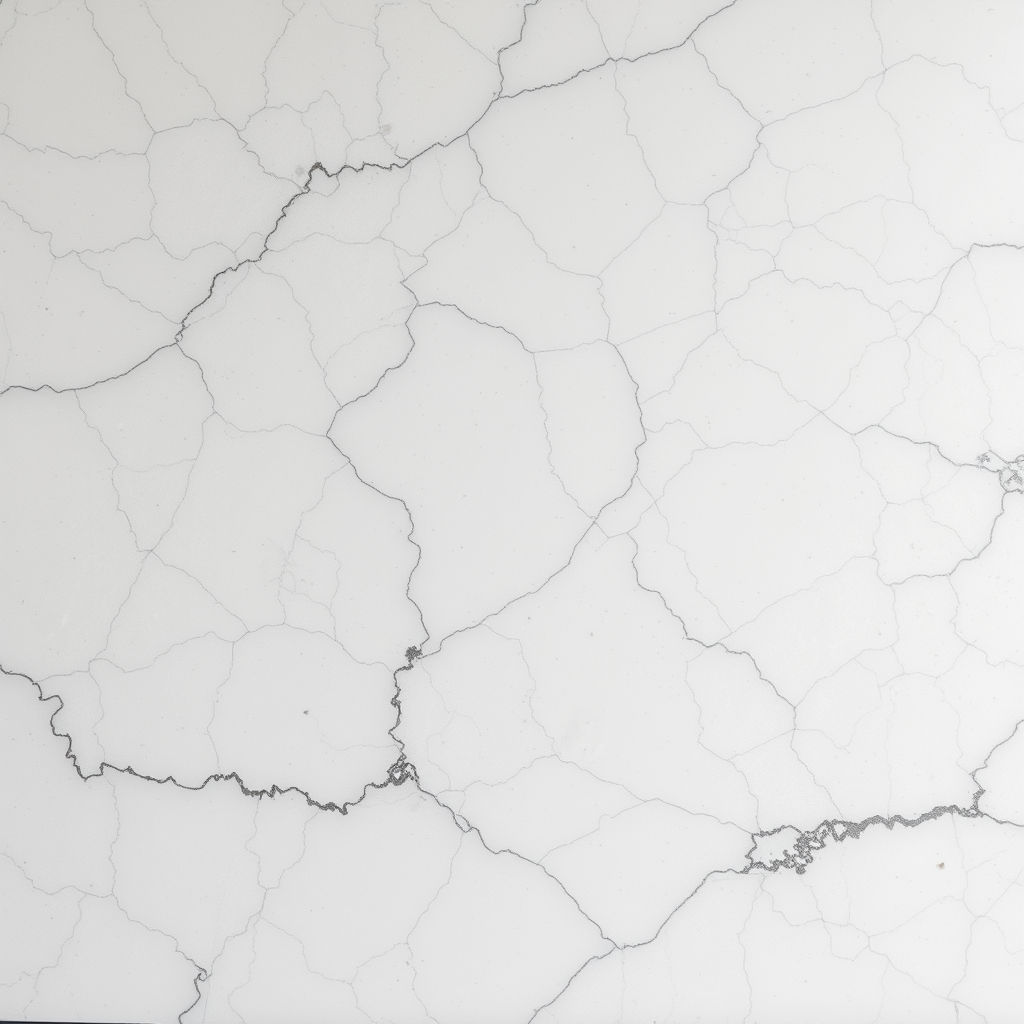


Before and After Stone Restoration Results

A small chip beside the sink can pull your eye every time you walk into the kitchen. A dark line along a join can make an otherwise premium benchtop look tired. The most convincing before after stone restoration results do more than improve a surface in a photo - they make the damage stop being the first thing you notice in your home.
For homeowners with Caesarstone, Smartstone, marble, granite or quartz-based benchtops, restoration can often be a practical alternative to replacing an entire slab. The key is having the damage assessed properly, using repair materials and finishing techniques suited to the stone, its colour, and its surface finish.
What good stone restoration results look like
A successful repair should restore both appearance and everyday function. On a polished engineered stone benchtop, that generally means the repaired area blends closely with the surrounding colour and gloss, feels smooth to the touch, and is stable enough for normal kitchen use. On honed stone or natural marble, the goal is a consistent finish without an obvious patch, harsh edge or mismatched sheen.
“Near-invisible” is the right expectation for many cosmetic repairs, but it should not be treated as a blanket promise. The final result depends on the type of damage, the stone composition, the position of the repair, lighting in the room, and how much of the original material is missing.
A chip on a front edge, for example, can often be repaired to blend exceptionally well because a specialist can rebuild the profile and colour-match the exposed area. A large crack that runs across a heavily patterned marble slab may still be greatly improved and stabilised, but natural veining can make complete visual disappearance less realistic. Honest advice before work begins matters as much as the repair itself.
Before and after stone restoration results by damage type
Chips and broken edges
Chips commonly occur around sink cut-outs, cooktops, benchtop corners and overhangs. They may be caused by a dropped pan, a sharp impact from a bottle, or pressure placed on a vulnerable edge.
Before repair, a chip can look brighter or darker than the rest of the stone because the broken surface catches light differently. It may also feel sharp, making it more than a cosmetic concern. After a quality repair, the missing section is rebuilt, shaped to match the original edge profile, colour-matched, cured and refined so the repair sits naturally within the benchtop.
The strongest results are usually achieved where the surrounding stone is clean and stable. Very large edge losses, repeated impacts in the same spot, or damage right on a prominent light-coloured vein may remain detectable at close inspection. Even then, a professional repair can be a substantial improvement over exposed damage or a full slab replacement.
Cracks in engineered and natural stone
A crack needs diagnosis before it needs filler. Some cracks are purely cosmetic, while others are linked to movement, insufficient support, a poorly positioned cut-out, heat stress or a failed join. Repairing the visible line without addressing the cause can allow it to return.
Before restoration, the crack may be clearly visible as a dark, open line or a fine fracture that appears only from certain angles. A specialist assesses the slab, cabinetry support and location of the damage before selecting the right repair approach. The repair may involve stabilising the affected area, carefully filling the fracture, colour blending and finishing the surface to reduce visibility.
Fine cracks often achieve excellent visual improvement. Wider cracks, cracks through busy patterns, and fractures near sinks or cooktops may require a more considered outcome. The priority is always a repair that is stable, tidy and appropriate for the benchtop’s use.
Failed seams and join lines
A seam is where two pieces of stone meet. Over time, movement, water exposure, poor original bonding or impact can cause a seam to open, discolour or become uneven. In a white or pale benchtop, even a narrow dark seam can be highly noticeable.
Before repair, the join may have an obvious gap, old discoloured adhesive, a rough ridge or broken silicone. After seam restoration, old failed material can be removed, the sections rejoined where possible, and the line refinished to create a cleaner, more consistent appearance.
Not every seam can be made completely invisible. Benchtops with distinct movement, an existing height difference, or a join set within a heavily used area may retain some evidence of the seam. What matters is that it is neat, secure and no longer distracts from the overall finish of the kitchen.
Dullness, staining and surface wear
Not all restoration work starts with an obvious break. Marble can become etched by acidic spills, granite can lose its lustre, and engineered stone can look cloudy when residue or inappropriate cleaning products build up. These issues can make a benchtop appear older than it is.
Before rejuvenation, surfaces may have uneven gloss, visible water marks, patchy staining or a film that regular cleaning does not remove. Depending on the material, the after result may involve deep cleaning, controlled polishing, treatment of affected areas, and a finish that better matches the rest of the benchtop.
This is one area where stone type is especially important. Natural stone can often be polished or honed to improve its appearance, while engineered stone needs a different approach. Aggressive products or unsuitable polishing methods can permanently alter a surface, so generic DIY solutions are rarely a good bet on premium benchtops.
Why photos do not tell the whole story
Before-and-after photos are useful because they show the level of visual improvement possible. They are not, however, a guarantee that every chip, crack or seam will respond in exactly the same way.
Camera angles can hide depth, while direct sunlight may reveal a repair that is barely visible under normal indoor lighting. Stone batches also vary. Two white engineered stone benchtops can have different warmth, speckle density and reflective qualities, so colour matching is a technical process rather than simply choosing a white filler.
When assessing an expected result, consider the repair location. Damage on a flat area at the back of a benchtop is viewed differently from a chip on a waterfall edge at eye level. A capable technician will explain what can realistically be achieved in your specific location, rather than offering a one-size-fits-all answer.
What creates a better restoration outcome
Good results begin well before the repair material is applied. The damaged area needs to be cleaned, prepared and stabilised correctly. The repair compound must suit the stone and be blended with care. Finally, the surface has to be shaped and finished in a way that matches the original profile, texture and level of sheen.
Experience with engineered stone is particularly valuable. These surfaces are made from a precise blend of quartz and resin, and their appearance can change significantly depending on pigment, pattern and finish. Natural stone brings its own challenges, including veining, porosity and variation that cannot be replicated with a single standard repair product.
ChipFix Stone Benchtop Repairs approaches this work with specialist knowledge developed across premium engineered and natural stone surfaces. That expertise helps determine whether a repair is suitable, how it should be completed, and what result you can reasonably expect before any work starts.
When repair is the sensible choice
Restoration is often worthwhile when the slab is otherwise sound, the damage is localised, and you want to avoid the cost, disruption and matching difficulties of replacement. Replacing one benchtop can also involve disconnecting plumbing or appliances, removing splashbacks, modifying cabinetry and finding a slab that coordinates with existing stone.
There are occasions when replacement or further trade work is the better option. A slab with extensive structural failure, ongoing movement from cabinetry, or widespread damage may need a broader solution. A professional assessment should make that clear, even if repair is not the right recommendation.
To get an accurate indication, take clear photos from a short distance and close up, include a wider shot showing the benchtop, and note the stone brand if you know it. This gives a specialist the best starting point to assess the damage and advise on the likely finish.
The most reassuring result is not simply a better-looking benchtop. It is being able to use your kitchen or bathroom again without your attention returning to that chip, crack or tired seam.


Comments