
How to Repair a Broken Benchtop Corner Safely

A broken corner is one of the most noticeable forms of stone benchtop damage. If you are searching for how to repair broken benchtop corner damage, the right approach depends on what has broken away, the material involved and whether the corner still has structural support. A careful repair can restore the profile, colour and polish so the damage is difficult to find. A rushed patch, however, can leave a visible line, a dull spot or a weak edge that chips again.
Stone corners are vulnerable because they are exposed. A dropped pot, a hard knock from an appliance, a heavy object dragged across the edge or an impact during installation can remove a small piece of engineered stone, marble, granite or quartz. Even a modest chip can catch the light every time you walk into the kitchen.
Start by assessing the broken benchtop corner
Before reaching for glue or filler, look closely at the extent of the break. A small chip confined to the top edge is very different from a corner that has fractured through the full thickness of the slab. The first may be repairable without removing anything. The second may need the area stabilised, rebuilt and colour-matched by a stone repair specialist.
Check whether the loose piece is available and whether it fits cleanly back into place. Keep it somewhere safe, ideally in a small container, and avoid washing it down the sink or throwing it out with the rubbish. The original fragment can help achieve a far more accurate repair, particularly with marble and granite where veining and natural variation are part of the surface.
Also check for hairline cracks travelling back from the corner. They can be difficult to see until moisture, food residue or a change in lighting reveals them. If the corner is near an undermount sink, cooktop cut-out, dishwasher opening or unsupported overhang, treat any cracking as a structural concern rather than a cosmetic one.
Damage that usually needs specialist attention
Professional repair is generally the sensible choice when any of the following applies:
A piece larger than a fingernail has broken from the front edge or corner.
The break runs through the slab thickness or along a joined seam.
There are cracks extending away from the impact point.
The benchtop is marble, granite or a premium patterned engineered stone.
The damaged corner is sharp, unstable or exposed beside a sink or cooktop.
A specialist can assess whether the slab needs reinforcement underneath before the visible surface is restored. This step matters. Filling a damaged corner without addressing movement or lack of support may produce a good-looking result for a short time, but it will not solve the reason the area failed.
How to repair a broken benchtop corner: the proper process
A high-quality stone corner repair is a controlled restoration process, not simply an application of off-the-shelf epoxy. The aim is to rebuild the shape of the corner, blend its colour and pattern, then refine the surface finish until it sits naturally with the surrounding benchtop.
First, the area is cleaned thoroughly and any loose or unsound material is removed. Oils, silicone residue and household cleaners can interfere with adhesion, so preparation is as important as the repair compound itself. The technician then examines the fracture edges and determines whether the original piece can be re-bonded or whether the missing section needs to be reconstructed.
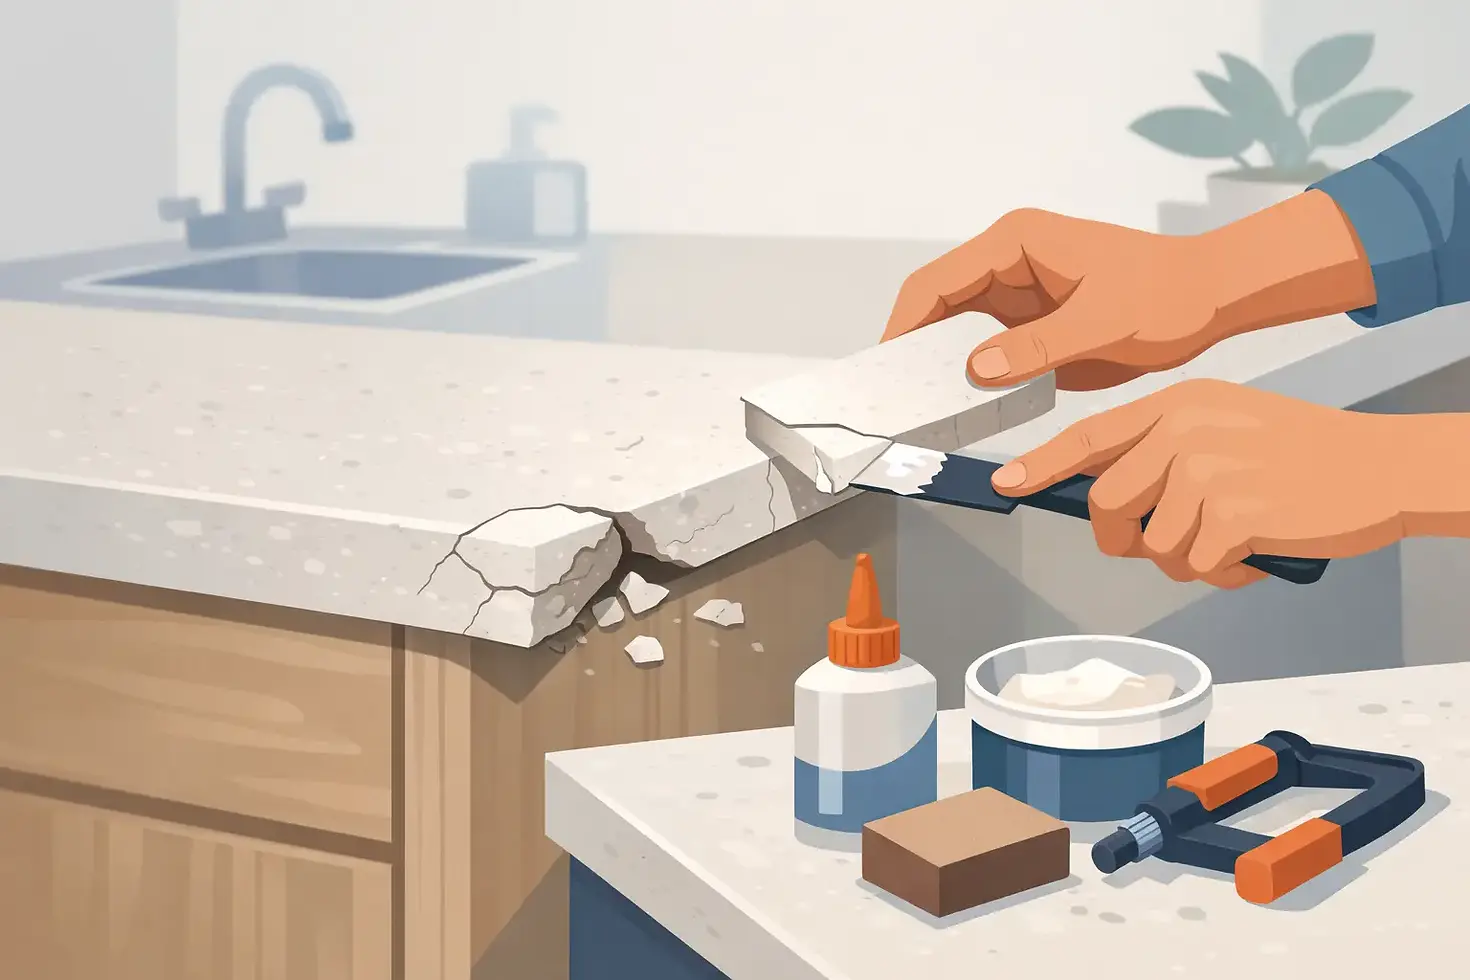
For a retained fragment, a stone-grade adhesive is colour-tinted to suit the slab and applied precisely. The piece is aligned carefully so the top surface, front edge and corner profile meet correctly. Alignment is critical: even a slight height difference can create a line that catches on a cloth and becomes more visible over time.
Where material is missing, the corner is built up in stages with a colour-matched resin system. On engineered stone such as Caesarstone or Smartstone, matching the base tone alone is not enough. The repair may need fine pigment, flecking or layered colour work to reflect the slab’s pattern and depth. On natural stone, the technician may also recreate the direction of veins or mineral movement so the repaired corner does not appear as a flat block of colour.
Once cured, the repair is shaped back to the original edge profile. This can be a square edge, eased edge, pencil round, bullnose or another finish used in the kitchen. The surface is then progressively refined and polished to match the surrounding sheen. A polished stone surface needs a different treatment from a honed or matte finish, which is why one generic repair kit rarely delivers an invisible result across every benchtop material.
Why DIY repair kits often disappoint
Small DIY kits can be useful for a temporary fix on a low-visibility chip, especially if preventing a sharp edge is the immediate priority. They are less reliable for a broken outside corner where the repair needs strength, precise shaping and a close visual match.
The usual issue is colour. White engineered stone, for example, is rarely just white. It may carry warm, cool or grey undertones, translucent particles and subtle mottling. A filler that looks close in the tube can dry too yellow, too grey or too opaque against the benchtop. Dark granite and marble create a different challenge because a glossy, solid-colour patch can stand out against the stone’s natural depth.
Polish matching is another common problem. Sandpaper that is too coarse can leave a flat halo around the repair. Aggressive grinding can damage the factory finish or expose filler at the surface. There is also a safety risk in creating silica-containing dust from engineered stone. Dry grinding, sanding or cutting engineered stone should never be treated as a casual home task.
If you decide to make a temporary repair, do not use ordinary household glue, grout, timber filler or bathroom silicone. These materials generally discolour, shrink, remain visible or fail under kitchen use. Avoid sanding the benchtop dry, and do not attempt to cut or reshape engineered stone yourself.
Protect the corner while you arrange repair
A damaged corner is more likely to worsen if it continues to take knocks. Clear heavy items from the immediate area and avoid leaning on the edge. Do not place hot cookware directly over the damage or allow standing water to sit in a crack, particularly around a sink. If the corner feels sharp, loosely protect it from contact until it can be repaired, without taping directly onto a freshly fractured surface where adhesive residue may complicate preparation.
Take clear photos before cleaning or trying any product. Photograph the corner from above, face-on and from a slight angle in natural light. Include one wider photo showing the benchtop and any nearby sink, cooktop or seam. These details help a repairer identify the material, assess access and give practical advice before attending.
When replacement may be the better option
Most corner chips and small breakages can be repaired on site, often without the disruption and cost of replacing an entire slab. But repair is not always the right answer. A corner may require a larger stone insert or replacement if the slab has multiple cracks, the substrate beneath has failed, the damage affects a major unsupported section, or an old repair has deteriorated beyond reliable restoration.
The decision should be based on the condition of the stone, not just the size of the visible break. A specialist assessment can distinguish cosmetic damage from movement, poor support or a seam issue that needs further work. That is especially valuable in premium kitchens, where replacing a benchtop can involve disconnecting appliances, plumbing and splashbacks.
At ChipFix Stone Benchtop Repairs, colour-matched on-site repairs are approached with the same care as the original stonework. The objective is not merely to fill a chip, but to restore the corner’s strength, shape and finish as closely as the material allows.
A broken benchtop corner does not automatically mean a new benchtop. Keep any loose fragment, avoid a quick household-glue fix and have the damage assessed before it spreads. The earlier the repair is handled, the better the chance of returning your kitchen or bathroom surface to a clean, near-original finish.


Comments