

Best Stone Benchtop Repair Methods for Lasting Results

A chip on the edge of a Caesarstone island, a visible line opening along a join, or a crack beside the sink can make an otherwise beautiful kitchen feel unfinished. The best stone benchtop repair methods do more than cover damage. They rebuild strength, match colour and pattern, then restore the surface so the repair is difficult to spot in normal use.
For premium engineered stone, marble, granite and quartz surfaces, the right repair depends on the material, the location of the damage and what caused it. A quick patch can leave a shiny mark, a dark outline or a weak point that fails again. A properly assessed on-site repair is designed to return both appearance and everyday function without the cost and disruption of replacing the whole benchtop.
Why stone benchtop repairs need a tailored approach
Stone is not one material. Engineered stone products such as Caesarstone and Smartstone combine quartz aggregates with resin binders, while natural marble and granite have their own mineral structure, porosity and movement. The repair materials and finishing process need to suit that surface.
A pale, fine-grained engineered stone may require custom colour tinting and careful polishing to avoid a visible repair halo. A marble benchtop can need a different resin system and finish to preserve its natural variation. Granite, meanwhile, may need detailed colour work to blend with its flecks and crystalline pattern.
The damage itself also matters. A small chip on a lower edge is usually a cosmetic repair, although it still needs a durable fill. A crack around a sink cut-out can point to movement, impact or inadequate support, so simply filling the line is not enough. The underlying stress needs to be considered before the surface is restored.
Best stone benchtop repair methods by damage type
Chip repairs with colour-matched resin
Chips are common around front edges, sink openings, cooktop cut-outs and corners. They often occur when a heavy pot, bottle or appliance strikes the stone. The most effective repair involves cleaning and preparing the damaged area, rebuilding the missing section with a high-quality resin compound, then shaping and polishing it to match the original profile.
Colour matching is what separates a near-invisible chip repair from an obvious blob of filler. On a plain white surface, even a small mismatch in tone or sheen can stand out. On veined or speckled stone, the repair may need layered colours and fine detail to recreate the surrounding pattern.
Avoid household epoxy, super glue and off-the-shelf repair kits for prominent chips. They can yellow, remain too glossy or matte, and may not bond correctly to the benchtop. They also make later professional restoration more time-consuming.
Crack stabilisation and repair
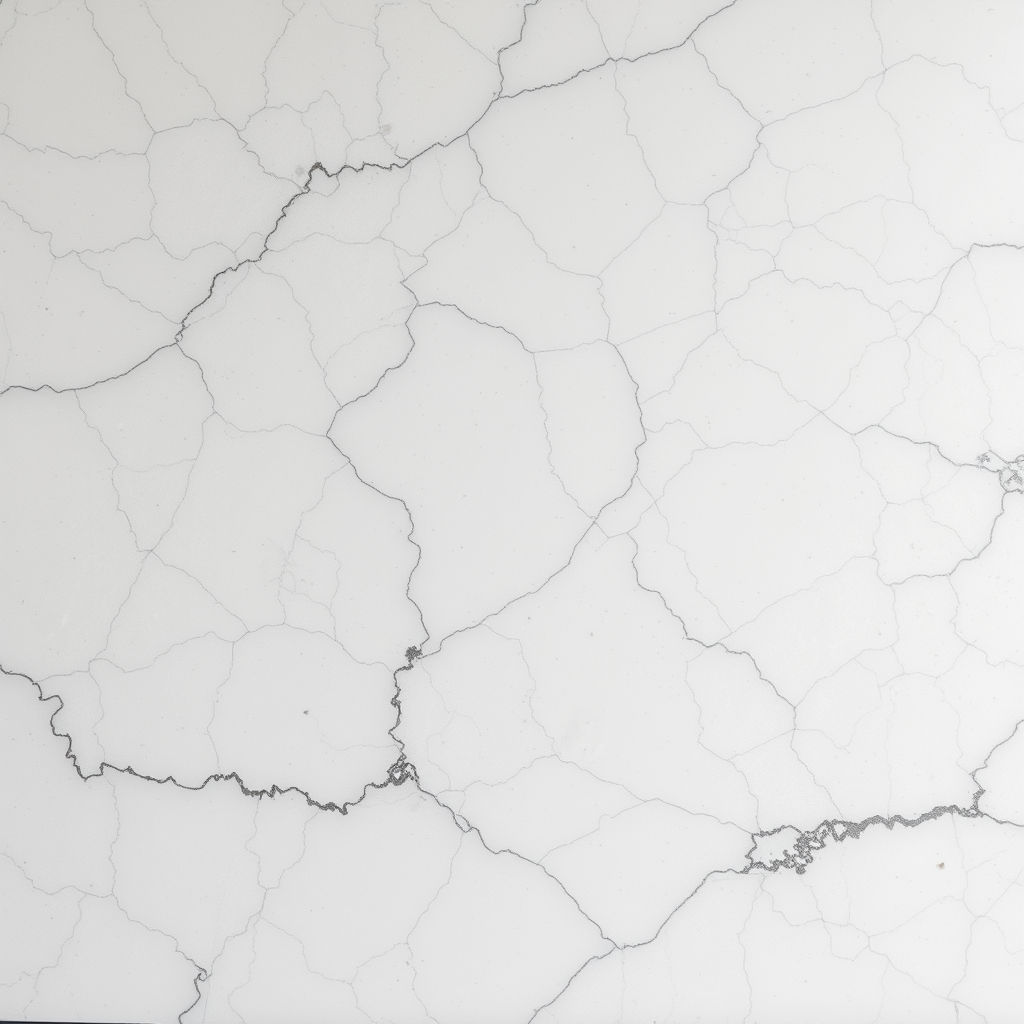
Cracks require more investigation than chips. Some are superficial, while others run through the slab or originate from a weak point near a cut-out, seam or unsupported overhang. A quality repair begins with identifying the crack path and checking whether the benchtop is still moving.
Once the cause has been addressed where possible, a specialist can stabilise the crack with an appropriate resin system. The damaged line is carefully filled, levelled and finished to reduce visibility while helping prevent dirt and moisture entering the break. Where access allows, reinforcement beneath the benchtop may also be considered for added support.
A crack next to a hot cooktop, dishwasher or sink needs particular care. Heat, moisture and cabinet movement can all contribute to failure in these areas. If the stone is badly fractured or the structural support is inadequate, repair may not be the safest long-term solution. Honest assessment matters more than promising an outcome the material cannot deliver.
Seam rejoining and epoxy line replacement
A seam is the join between two pieces of stone. When it is properly installed, it should be neat, stable and minimally visible. Over time, however, movement in cabinetry, impact, heat or failed adhesive can cause a seam to open, discolour or become uneven.
Seam repair generally involves removing failed or stained material from the join, bringing the two sections back into correct alignment where possible, then applying a colour-matched joining compound. The repaired seam is finished level with the surface so it feels smooth rather than catching a cloth or fingernail.
Not every seam can be made completely invisible, particularly where the stone has strong veining or the slabs have moved significantly. The goal is a clean, secure and visually discreet join that restores the benchtop’s appearance and usability. Replacing tired silicone or epoxy lines around joins and edges can also make a noticeable difference in a kitchen or bathroom that otherwise presents well.
Surface polishing and rejuvenation
Dull patches, fine scratches, light etching and residue can make stone look worn even when there is no major break. Rejuvenation is a different process to filling a chip or crack. It focuses on cleaning, refining and restoring the surface finish to suit the specific stone.
Natural marble is more prone to etching from acidic products such as lemon juice, vinegar and some bathroom cleaners. These marks can look like pale, dull patches rather than stains. Granite may benefit from specialist cleaning and polishing, while engineered stone needs a controlled approach that does not damage the resin-bound surface or create an uneven sheen.
Polishing can improve the appearance of light surface wear, but it is not a cure for every deep scratch or burn mark. A good technician will explain what can be blended successfully and where the damage may remain faintly visible.
Stain treatment and cosmetic restoration
Stains are often mistaken for permanent damage. On natural stone, oils, dyes, rust, cosmetics and cleaning products can enter the surface depending on its porosity and sealing condition. Engineered stone is less porous, but it can still suffer from residue, chemical marks and stubborn discolouration.
The correct treatment depends on the source of the mark. Applying a harsh chemical without knowing the cause can make matters worse, especially on marble. Professional cleaning and stain treatment aim to lift or reduce discolouration safely before any polishing or sealing work is considered.
When a DIY repair is likely to cause more harm
Minor cleaning is reasonable for homeowners, but repairs involving resin, polishing equipment or stone cutting are best left to trained specialists. Stone dust must be controlled properly, and incorrect grinding can leave a permanent dish, burn mark or change in surface gloss. On engineered stone, cutting or grinding should only be undertaken with appropriate wet-cut methods and safety controls.
It is also worth pausing before using internet remedies. Abrasive creams, bleach, vinegar and aggressive scourers can alter the finish or damage natural stone. If you are unsure whether a mark is a stain, etch, scratch or burn, take clear photos in natural light before applying any product.
A professional assessment is especially worthwhile when damage is near a sink, cooktop, seam or overhang; when a crack is growing; or when the benchtop is part of a high-value renovation. These are the areas where appearance and structural reliability are closely connected.
Choosing the right repair specialist
The finish of a stone repair is only as good as the technician’s understanding of the material. Look for a specialist with experience across engineered and natural stone, clear examples of chip, crack and seam repairs, and a process that includes colour matching and finishing rather than simply filling damage.
On-site capability is also valuable. It avoids removing a large benchtop slab, reduces disruption to the home and allows the repair to be matched to the actual lighting, cabinetry and surrounding stone. At ChipFix Stone Benchtop Repairs, that specialist approach is supported by deep experience with quartz-based surfaces, including founder Len Ducrou’s former technical management role with Caesarstone Australia.
Before booking, provide photographs from several angles, including a wider image showing the damage in context. Include the stone brand or colour if known, the approximate size of the affected area and whether the damage has changed over time. This gives the repairer a stronger basis for advising on likely results.
Protecting the repair once it is complete
A well-executed repair is made to handle normal household use, but sensible care helps preserve the finish. Use chopping boards rather than cutting directly on the surface, avoid dropping heavy cookware on edges, and wipe spills promptly. Do not place hot pots directly on the benchtop, particularly near seams or cut-outs.
Use pH-neutral stone cleaners where suitable, and avoid harsh abrasives or acidic products on natural stone. If a small new chip occurs, arranging repair early generally gives the best cosmetic result before the damage collects grime or develops further.
Your benchtop does not need to be replaced because of one visible flaw. With the right diagnosis, materials and finishing skill, many chips, cracks, seams and worn areas can be restored to a result that lets the stone, not the damage, take centre stage.


Comments