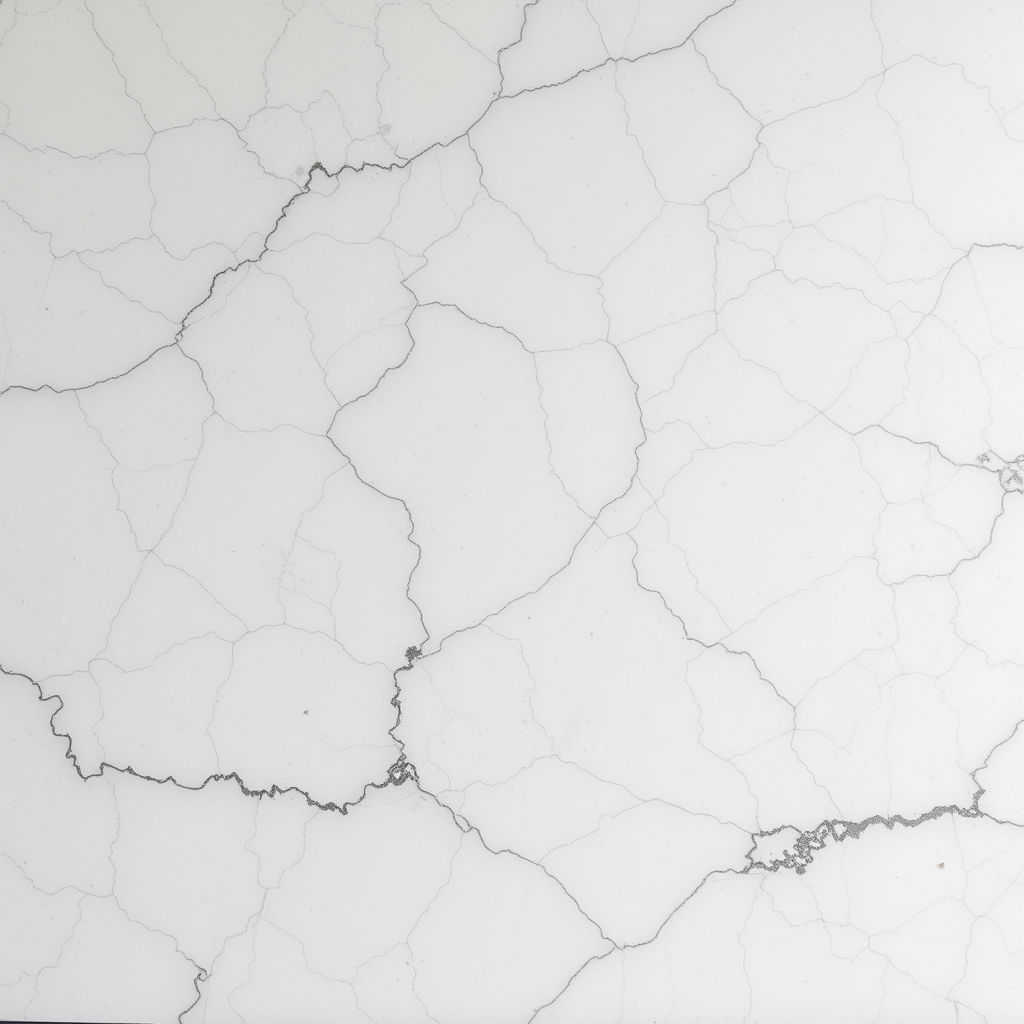


Caesarstone Damage Types and Repair Options

A dropped cast-iron pan, a hairline crack beside the sink or a dark mark that will not lift can make an otherwise beautiful kitchen feel worn before its time. Understanding Caesarstone damage types helps you act early, avoid making the problem worse and choose repair rather than an expensive replacement where it is practical.
Caesarstone is an engineered stone surface made from quartz and resins. It is hard-wearing and well suited to busy Australian kitchens and bathrooms, but it is not indestructible. Most damage is localised, which means a skilled on-site repair can often restore the surface’s function and appearance to a near-original finish.
The Most Common Caesarstone Damage Types
Chips along edges and cut-outs
Chips are among the most common forms of Caesarstone damage. They usually occur on exposed edges, around sink and cooktop cut-outs, on breakfast bars and near dishwasher openings. A heavy pot, plate, wine bottle or appliance can strike an edge with enough force to remove a small piece of material.
A fresh chip may look bright because the broken edge reflects light differently from the finished surface. On darker colours, even a small chip can be particularly noticeable. The good news is that many chips can be filled, colour-matched, shaped and polished so they blend closely with the surrounding stone.
The final result depends on the size and location of the damage, the benchtop colour and pattern, and whether the edge has a simple square profile or a more detailed profile. A repair on a flat, solid-colour section is generally more straightforward than one across a veined design or a heavily rounded edge. Even so, replacement is rarely the first option for a contained chip.
Cracks in the benchtop
Cracks need closer attention because they can signal movement, impact or insufficient support beneath the stone. They are often found around sink and cooktop cut-outs, at joins, near unsupported overhangs and above dishwashers, where heat and moisture may contribute to movement over time.
Not every line is a crack. Sometimes a visible line is a seam, a stain at a joint or a scratch in the surface. A genuine crack may catch a fingernail, continue through the thickness of the stone, or widen slightly when pressure is applied nearby.
A crack should be assessed before it is filled. If the underlying cause is not addressed, a cosmetic repair alone may not last. An experienced technician looks at cabinet support, substrate condition, appliance clearance, seam placement and the direction of the fracture before recommending the right repair approach.
Failed or visible seams
Most large Caesarstone benchtops are made from two or more pieces joined together. A well-finished seam is neat and unobtrusive, but it may become more visible over time due to movement, old adhesive, moisture exposure or separation between the slabs.
Signs of seam failure include a dark line, a raised edge, a gap that collects crumbs, discoloured adhesive or a join that feels uneven when you run your hand across it. In some cases, the seam is structurally sound but looks tired. In others, the pieces have separated and need to be carefully drawn back together, re-bonded and refinished.
Seam rejoining is detailed work. The surfaces must be aligned precisely before the adhesive is applied, otherwise the repair can leave a noticeable ridge. A properly restored seam improves both the look of the benchtop and its ability to resist moisture and food debris entering the joint.
Stains, etching and dull patches
Caesarstone is non-porous, so ordinary spills do not usually penetrate in the way they can with unsealed natural stone. However, residue can still leave marks, particularly around sinks, cooktops and areas used for food preparation. Hard water deposits, cooking oils, coloured liquids, strong cleaning products and adhesive residue can all affect the surface appearance.
Some marks described as stains are actually dull patches caused by abrasive pads, harsh cleaners or repeated scrubbing. These patches change how light reflects from the surface. On polished dark colours, they can appear cloudy or grey. On matt finishes, they may look shinier than the surrounding area.
The right treatment depends on what has caused the mark and the surface finish. Using an aggressive cleaner in frustration can turn a small issue into a larger cosmetic repair. A specialist can identify whether the problem is surface residue, chemical damage, abrasion or a mark that has entered an open seam or chip.
Scratches and surface abrasion
Quartz-based engineered stone is highly scratch resistant, but not scratch-proof. Dragging unglazed ceramic, metal objects or abrasive items across the benchtop can leave fine scratches or scuffing. Repeated use of scourers may also alter the sheen in one area, especially around the sink.
Light surface marks can sometimes be cleaned away if they are transferred material rather than a true scratch. Deeper scratches require a more considered repair because polishing one small area can create a different finish from the rest of the slab. This is where colour, texture and sheen matching make the difference between a repair that merely fills damage and one that looks properly restored.
Heat damage and discolouration
Caesarstone is designed to cope with normal kitchen use, but direct heat can cause problems. Placing a very hot pan, roasting tray or portable appliance directly on the surface may leave a discoloured area, affect the resin component or contribute to cracking where the stone is already under stress.
Heat damage is not always immediately obvious. A change in gloss, pale ring, yellowed patch or fine crack may develop after the surface has cooled. Trivets and heat pads remain the safest option, particularly near seams and cut-outs where the stone has less strength than in a full slab area.
When a Caesarstone Repair Is a Good Option
Many homeowners assume visible damage means replacing the whole benchtop. That is understandable, particularly when the surface is part of a high-value kitchen. Yet replacement can involve removing splashbacks, disconnecting plumbing and appliances, matching a discontinued colour and potentially affecting cabinetry.
Repair is often a practical option when the damage is localised and the surrounding stone remains stable. Chips, small cracks, surface blemishes, tired seams and silicone lines can frequently be addressed on site. The goal is not simply to cover the flaw. It is to rebuild the affected area, match its colour and finish, and restore a clean, durable result.
There are limits. A benchtop with widespread cracking, major structural movement, extensive heat damage or poor support may need broader rectification before any cosmetic work can be relied upon. An honest assessment should distinguish between a repair that will perform well and one that would only be temporary.
Why DIY Repairs Can Disappoint
Off-the-shelf repair kits can be tempting for a small chip, but their results are often obvious once cured. The filler may be the wrong shade, set too high or low, yellow over time, or dry with a gloss that does not match the benchtop. Veined and patterned Caesarstone colours are especially difficult to reproduce without experience.
There is also a safety consideration. Cutting, grinding or dry sanding engineered stone can create hazardous silica dust. Repairs should be carried out with suitable controls, tools and methods rather than improvised sanding at home.
Professional repair work involves more than applying resin. It requires surface preparation, careful colour blending, controlled curing, profiling and finish matching. At ChipFix Stone Benchtop Repairs, this specialist understanding is informed by founder Len Ducrou’s former role as NSW Technical Manager for Caesarstone Australia and factory training in Israel.
What to Do When You Notice Damage
Avoid placing further weight or heat on a cracked area, and do not try to force a separated seam back together. Keep the surface clean and dry, particularly if damage is close to a sink. For chips, retain any broken piece if you can find it, although it is not always needed for repair.
Take clear photos from directly above and from an angle, with one wider image showing where the damage sits on the benchtop. Good photos help a repair specialist assess the likely work involved and advise whether an on-site repair is suitable.
A small flaw does not need to become the feature you notice every time you walk into the kitchen. Timely assessment gives you the best chance of restoring the surface neatly, protecting the area from further damage and getting back to enjoying the benchtop you chose.


Comments