

Benchtop Joint Materials: What Holds Seams Together

A dark line opening between two stone slabs can make an otherwise beautiful kitchen look tired overnight. Yet the visible gap is only the symptom. The benchtop joint materials beneath and within that seam determine whether it remains stable, resists moisture and can be restored to a near-invisible finish.
For homeowners, the key point is simple: not every benchtop joint is made the same way, and not every failed joint should be repaired with the same product. The stone type, slab movement, joint location and condition of the original adhesive all matter.
What is a stone benchtop joint?
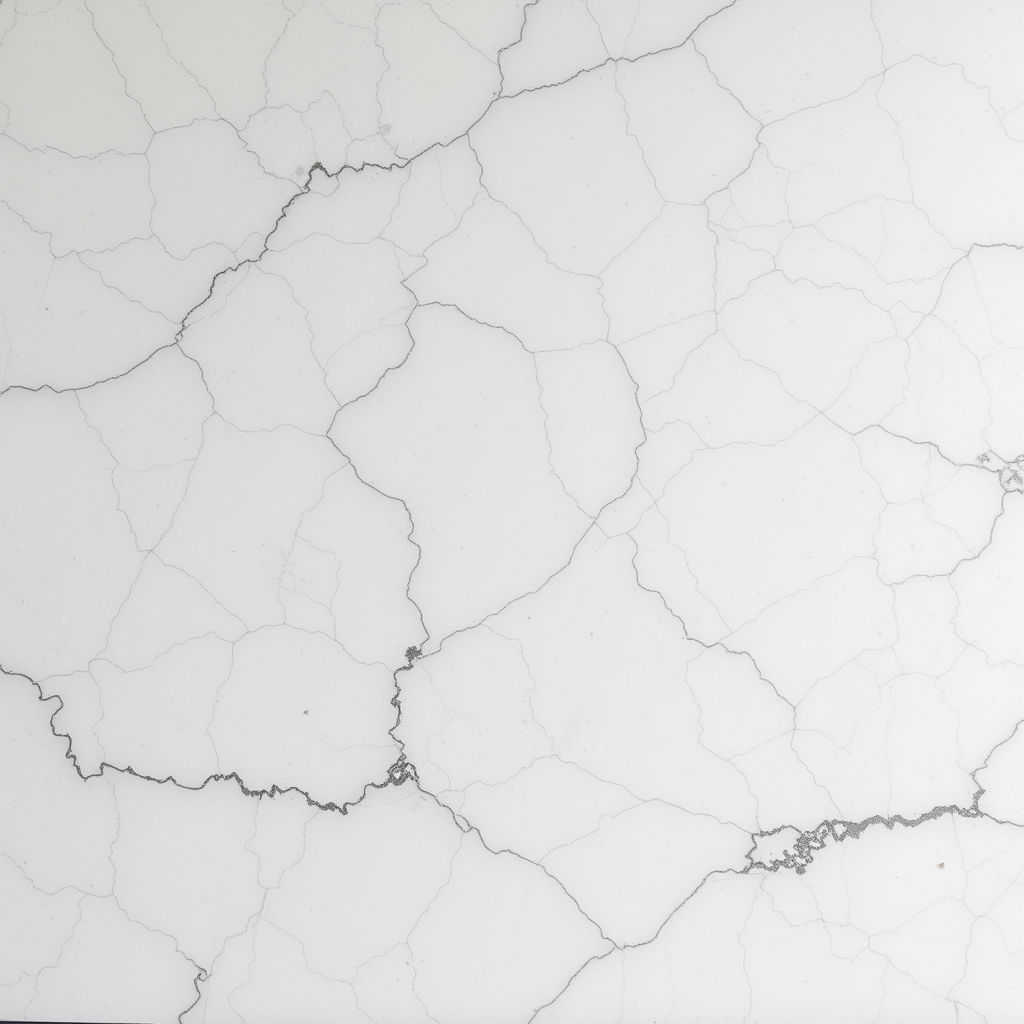
A joint, also called a seam, is where two pieces of benchtop meet. It may run across a long kitchen island, join an L-shaped corner, connect a waterfall end, or sit near a sink and cooktop cut-out. Fabricators aim to make these joins tight and discreet, but a joint will almost always be more vulnerable than the solid area of the slab.
A properly finished seam relies on accurate cutting, level support, careful slab alignment and the right adhesive. If one of those elements is compromised, the line can become more visible, collect grime, crack at the edges or separate altogether.
This is why simply filling an open seam with a household sealant is rarely a lasting answer. A repair needs to address both the appearance of the joint and the reason it moved or failed.
The main benchtop joint materials
Most premium stone benchtops use a combination of structural adhesive and flexible sealant, although each has a distinct role. Understanding the difference helps explain why a technician may recommend a seam repair, silicone replacement or further assessment of the cabinetry beneath.
Two-part stone epoxy
Two-part epoxy is one of the most common materials used to bond and repair stone seams. It is mixed immediately before use and cures into a hard adhesive. In benchtop work, epoxy can be colour-matched with pigments to suit white, grey, black, cream or patterned surfaces.
A quality epoxy repair can fill small chips along a seam, rebuild a fine edge and visually reduce a line that has become obvious over time. It is particularly useful where a joint needs strength as well as a neat cosmetic finish.
However, epoxy is rigid once cured. If the benchtop is moving because the cabinet is not level, the substrate is poorly supported or the slabs are under stress, an epoxy-only repair may crack again. The movement issue needs attention first.
Polyester and acrylic-based seam adhesives
Some fabricators use specialised polyester or acrylic adhesives for joining engineered stone and natural stone. These products are formulated to cure quickly, bond strongly and accept colour tints. Their performance varies depending on the stone, application and preparation of the joint faces.
For engineered stone products such as Caesarstone, Smartstone and other quartz-based surfaces, the correct adhesive choice is important. The material needs to bond reliably without creating an overly noticeable line or a colour change beside the seam.
In repair work, the existing adhesive also matters. A technician will assess whether the original joint material is sound enough to retain, whether it can be refinished, or whether failed material should be carefully removed and replaced.
Silicone sealant
Silicone is flexible and waterproof, which makes it useful around sinks, splashbacks and areas where stone meets a wall or another material. It is not usually the structural material that holds two benchtop slabs together.
Over time, silicone can discolour, shrink, pull away at the edges or attract mould in wet areas. A deteriorated silicone line around a sink may look like a failed stone joint, but it is a different repair. Removing old sealant cleanly and applying the appropriate new line improves hygiene and presentation while allowing for normal movement.
Colour-matched repair compounds
For fine chips, pinholes and small gaps at a seam, repair specialists may use colour-matched compounds in addition to structural adhesives. These are selected and blended to suit the base colour, flecks and finish of the surface.
The goal is not to leave a thick, obvious filler line. It is to rebuild the damaged area precisely, level it with the surrounding stone, then finish and polish it so the repair is difficult to notice in normal use.
Why benchtop seams fail
Seam failure is not always caused by poor workmanship. Stone benchtops are heavy, homes settle, cabinetry can move and kitchens are exposed to heat, water and daily use. Still, the pattern of the damage usually offers useful clues.
A seam that has darkened but remains flat may have absorbed grime or suffered surface wear. A joint that is opening on one side can point to movement or inadequate support. A crack running away from a seam, especially near a sink or cooktop, may indicate stress around a cut-out rather than a simple adhesive problem.
Heat can also contribute. Placing very hot cookware directly on a surface, particularly close to a joint or narrow stone section, can create thermal stress. Water leaking through an unsealed sink edge can affect surrounding cabinetry, which may then shift and place pressure on the stone above.
Natural stones such as marble and granite bring their own considerations. Marble can be more prone to etching and staining, while granite varies considerably in density and pattern. A repair approach that works well on a uniform engineered stone may require different colour matching and finishing on heavily veined natural stone.
Matching the material to the repair
The best repair material depends on what has actually failed. A clean but visible seam may only need cosmetic refinement. A joint with a small open gap may require old filler removal, re-bonding and colour matching. A seam that has lifted or cracked due to cabinet movement needs the underlying cause investigated before the finish is restored.
This is also where finish matters. Polished stone reflects light, so even a slight variation in height or sheen can draw attention to the repair. Honed or matte surfaces need a different finishing technique to avoid leaving a glossy patch. The adhesive may be only one part of the job; levelling, blending and polishing are what make the result look natural.
Avoid relying on generic hardware-store fillers for a premium benchtop. They can cure to the wrong colour, sit proud of the surface, stain at the edges or fail under movement. More importantly, they can make later professional restoration more difficult because contaminated or poorly bonded material must be removed before a proper repair can begin.
When a joint needs professional assessment
A close look is worthwhile if a seam is widening, feels sharp, catches a cloth, has developed a dark or yellow line, or has cracked beside a sink, cooktop or waterfall panel. These signs do not automatically mean replacement is required. Many damaged seams can be repaired on site when the stone itself remains structurally sound.
Photographs are useful for an initial assessment. Take one image from directly above, another from an angle that shows any height difference, and a wider photo showing the seam in relation to the sink, cooktop or corner. If possible, include the stone brand or colour name and note when the issue first appeared.
ChipFix Stone Benchtop Repairs assesses the stone surface, seam condition and likely source of movement before selecting materials and a repair method. That specialist approach is particularly valuable for premium engineered stone, marble and granite, where a poor match can be more noticeable than the original damage.
Caring for repaired and existing seams
Once a seam is restored, ordinary care goes a long way. Wipe spills promptly, especially around sink joins. Use a mild, non-abrasive cleaner rather than harsh chemicals, and avoid dragging heavy appliances across the benchtop. A chopping board and a trivet protect more than the stone surface - they reduce stress on vulnerable edges and joins.
If you notice a fine change in a seam, act before water, dirt and repeated movement turn it into a larger problem. A timely assessment often preserves more of the original material and gives the repair the best chance of disappearing back into the benchtop.


Comments